Heating Repair

When the cold season arrives, your home’s comfort depends on how efficiently your heating system works. If you're getting ready for a new heating system, it’s important to know what to expect during professional heater installation. A proper installation not only ensures warmth but also impacts your system’s performance, energy efficiency, and long-term reliability.
As HVAC experts at Hutchinson Heating and Air, we’ve installed countless heaters and furnaces across Murrieta, Temecula, and surrounding areas. From the initial assessment to post-installation testing, every step matters in ensuring your system runs safely and efficiently for years to come.
Let’s dive deeper into what the heater installation steps involve, the furnace installation process, and what you can expect from professional installers.
 When you schedule a professional heater installation, your HVAC technician follows a detailed and structured process. Understanding each phase helps you prepare your home, manage your expectations, and ensure your investment delivers optimal comfort.
The heating system installation guide below covers the entire journey from pre-installation inspections to post-installation testing.
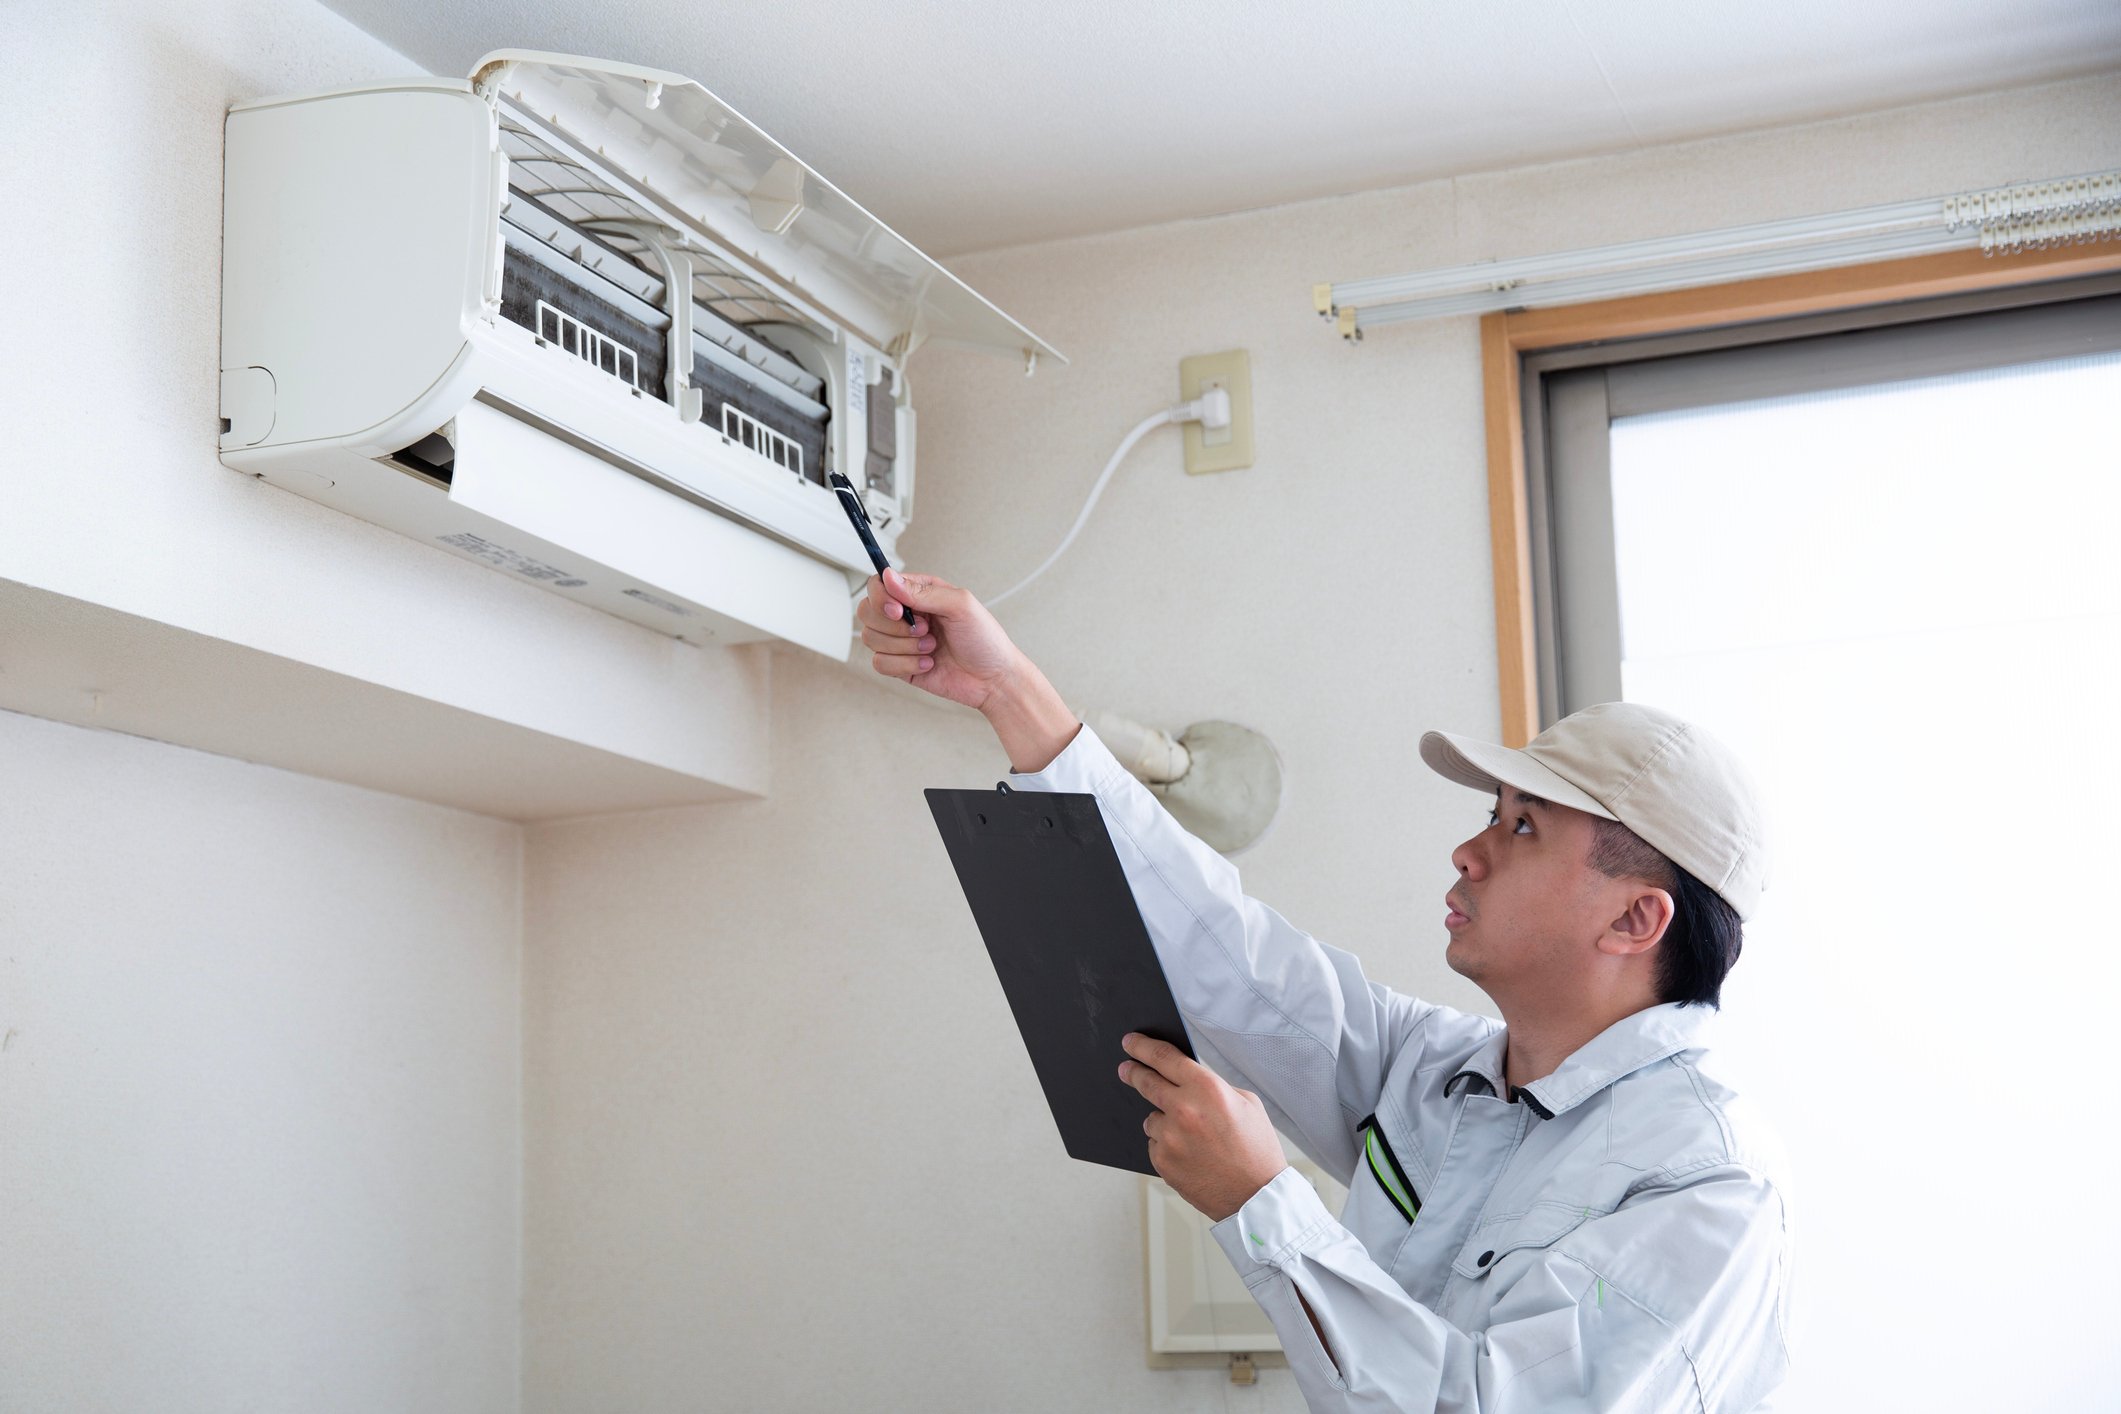
The first stage of heater installation steps begins with an in-home evaluation. Your HVAC technician inspects the size of your home, insulation quality, ductwork layout, and existing ventilation systems.
This step ensures that the new heater matches your home’s heating requirements. Installing a unit too small will overwork the system, while one too large may waste energy and cause uneven heating.
The assessment also helps determine whether you need duct repairs or upgrades before proceeding with the furnace installation process.
Once the assessment is complete, your technician will guide you through system selection. There are various types of heating systems, including:
Your installer helps you choose the best option based on energy efficiency, budget, and your home’s size. For instance, if you want lower energy bills, modern high-efficiency gas furnaces can be a great choice.
This phase ensures your heating system installation guide aligns with your comfort goals and long-term savings.
Before installation day, you’ll need to clear the work area. This makes it easier for the technicians to move equipment safely and efficiently.
During this stage, technicians may also turn off the gas or electricity to ensure safe work conditions. They’ll cover floors and nearby furniture to protect your home from dust or debris during the HVAC installation process.
The next phase in the furnace installation process involves removing the existing heating system. Technicians safely disconnect the old unit from gas lines, ductwork, and electrical connections.
If your old system includes ductwork that’s outdated or leaky, the technician may recommend sealing or replacing certain sections before connecting the new unit. This is critical to ensure your new heater operates at peak efficiency.
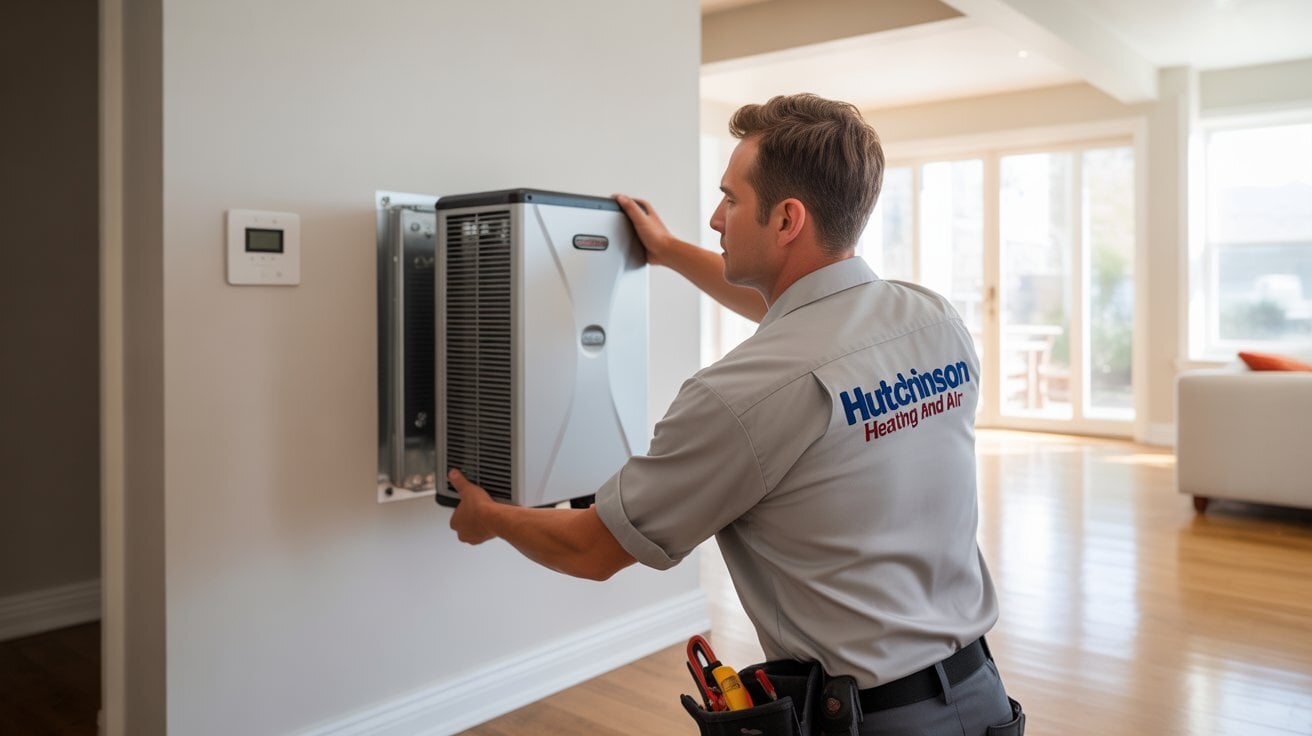
Now comes the most important stage the actual heater installation steps.
Technicians will:
During this process, your HVAC professional ensures all connections are tight, wiring is secure, and airflow pathways are clear.
This precision-driven approach is what separates professional installation from DIY attempts. Any mistake in wiring, ductwork connection, or venting can lead to inefficiency or even safety hazards.
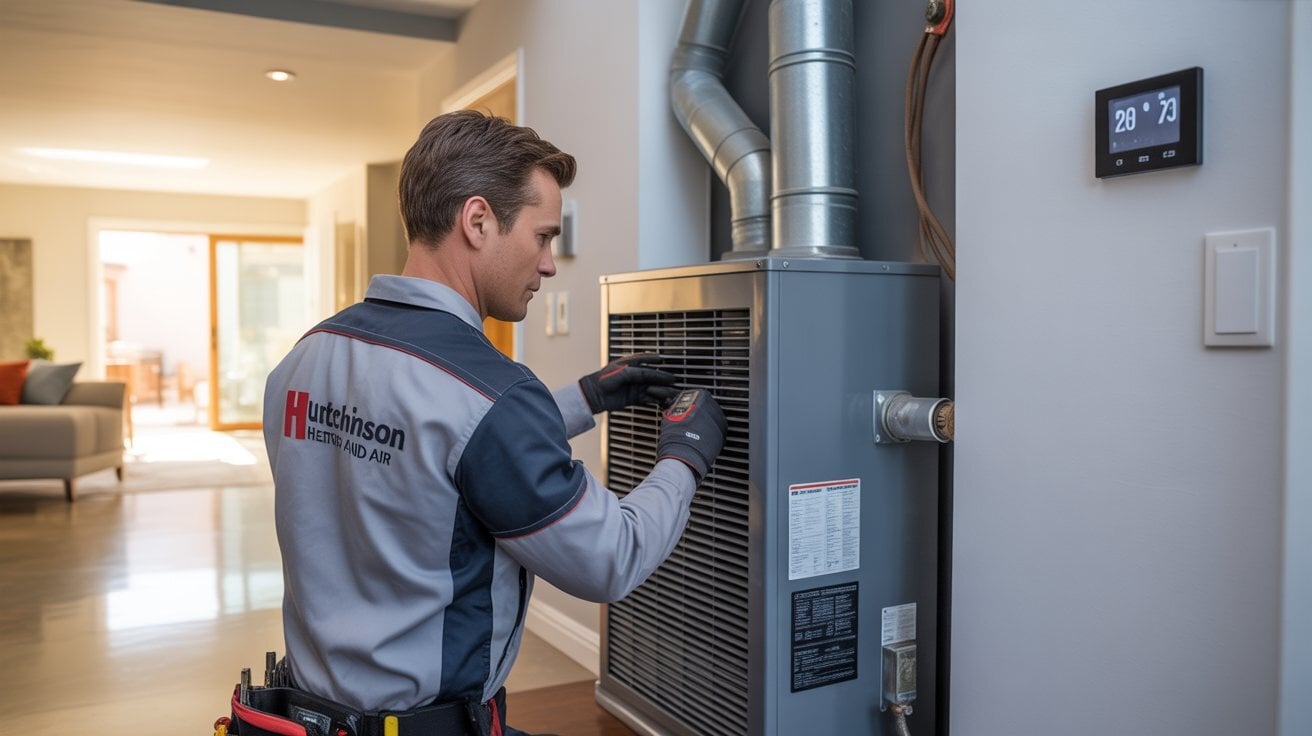
Once your new heater is installed, technicians perform a full system test. This phase includes:
Calibrating the thermostat ensures your home maintains consistent temperatures. This stage of the HVAC installation process ensures the system runs safely, efficiently, and within manufacturer specifications.
After installation and testing, your HVAC technician will walk you through the new system’s features. You’ll learn how to operate the thermostat, change filters, and perform basic maintenance.
A professional will also explain warranty details and maintenance schedules to protect your investment. This customer education is an essential part of the heating system installation guide, ensuring homeowners can use their system confidently.
Once everything is set up, the technicians clean the workspace and remove all old parts and packaging. Then, a final inspection ensures every connection is secure and your home heating system is ready for use.
You can expect your installers to check the following before leaving:
At this point, your system is officially ready to keep your home cozy and warm.
It might be tempting to cut costs with a DIY approach, but professional heater installation guarantees long-term performance, efficiency, and safety.
Here’s why it’s essential:
When handled by experts like Hutchinson Heating and Air, every part of your furnace installation process meets the highest quality standards.
Even with proper preparation, some installations face unexpected challenges. Professional technicians are trained to manage these issues efficiently.
By trusting certified experts, you eliminate these risks and ensure smooth installation.
Professional installation sets the stage for long-term energy efficiency. A properly sized and installed heater can save up to 30% on heating costs annually.
Technicians will also recommend maintenance plans and performance checks to keep your system in top shape. This proactive care helps avoid breakdowns and extends your heater’s lifespan.
If you’re looking for expert help in heating installation Murrieta, our team at Hutchinson Heating and Air provides top-rated service backed by years of hands-on experience.
Once your new system is up and running, proper maintenance ensures lasting performance. Here’s what you should do regularly:
By following your heating system installation guide, you’ll enjoy a warm, efficient, and reliable home environment.
You may also read: How Long Does It Take to Install a New Heater?
Understanding what to expect during professional heater installation helps you prepare your home, manage costs, and ensure the best results. Every phase from assessment to post-installation inspection plays a crucial role in performance and efficiency.
At Hutchinson Heating and Air, we specialize in reliable, efficient, and affordable heater installations across Murrieta, Temecula, and nearby areas. Our team focuses on customer satisfaction, energy efficiency, and long-term comfort.
If you’re planning your next heater replacement or upgrade, contact us today for expert installation, honest pricing, and personalized HVAC solutions. Your comfort is our priority let’s keep your home warm all winter long!
How long does a professional heater installation take?
Most heater installations take between 4 to 8 hours, depending on the system type and your home’s setup. Complex projects may require a full day.
Do I need to replace my ductwork during installation?
Not always. Technicians inspect your existing ducts and only recommend replacement if they’re damaged, leaky, or too small for your new system.
It includes old system removal, setting up the new unit, connecting gas and electrical lines, testing for efficiency, and performing final safety checks.
How do I know if my heater is the right size for my home?
Professionals perform load calculations to ensure your system is properly sized for optimal heating performance and energy efficiency.
Can I install a heater myself?
DIY installation is not recommended. Improper gas, electrical, or duct connections can lead to safety risks, inefficiency, and voided warranties.