Heating Repair
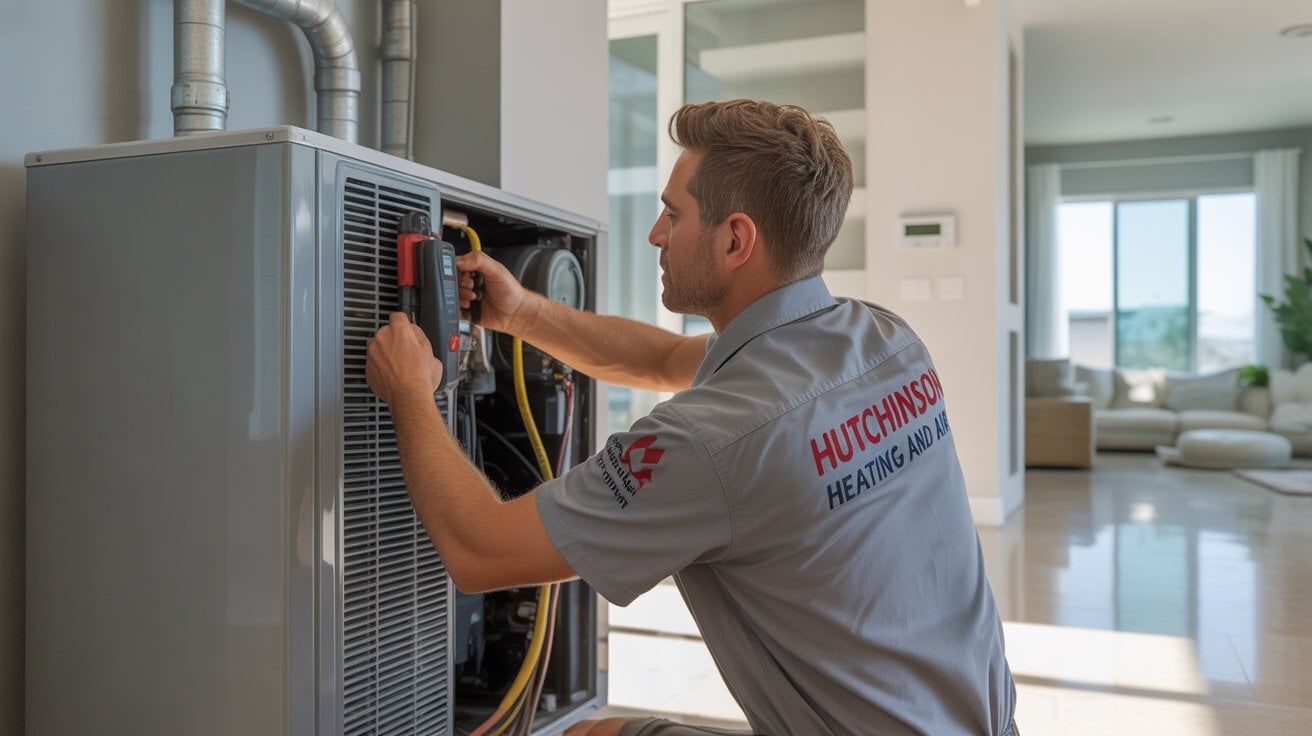

Installing a new heater is one of the most important upgrades a homeowner can make for comfort, safety, and energy efficiency especially during the chilly Murrieta and Temecula winters. Understanding the heater installation process helps you know what to expect, avoid surprises, and ensure the job is done right.
At Hutchinson Heating and Air Conditioning, we take pride in providing professional and transparent heating installation services for homeowners across Murrieta, Temecula, and surrounding areas. This step-by-step guide explains everything you need to know—from preparing your home to the final testing and inspection.
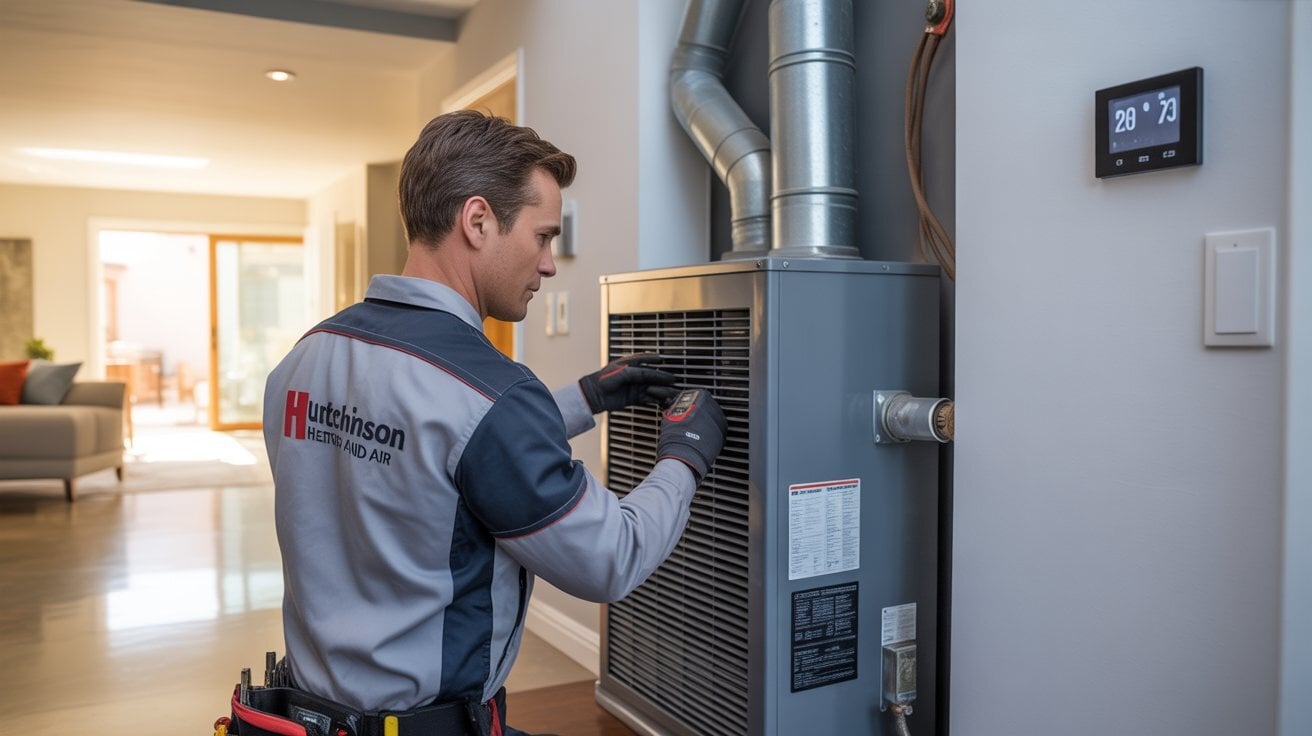 Many homeowners think heater installation is as simple as swapping old equipment with new. However, the process involves planning, safety checks, ductwork inspection, and precision setup to ensure your system runs efficiently for years.
Knowing the full process helps you:
Let’s walk through each stage of the heating unit installation steps so you can feel confident from start to finish.
Proper preparation is the foundation of a smooth installation. When you prep for heater install in Murrieta CA, both the homeowner and the HVAC team play a role.
Before any installation, professionals perform a Manual J load calculation to determine the correct heater size for your home. This ensures your system isn’t underpowered (leading to cold spots) or oversized (causing inefficiency and wear).
Technicians check:
Once the load calculation is done, your HVAC installer helps you choose between gas furnaces, electric heaters, or heat pumps based on:
The installation area whether a garage, attic, or utility room must be clear. Technicians will:
This step ensures everything is safe and ready for your HVAC installer heater installation in Temecula.
If you’re replacing an existing heating system, technicians will carefully disconnect and remove the old unit. This includes:
A professional removal prevents damage to your home and keeps everything in compliance with local codes.
Before the new heater is installed, it’s crucial to check your ductwork. Leaky or damaged ducts can waste up to 30% of heated air.
If repairs or upgrades are needed, this step happens before the new heater installation begins. Clean and tight ductwork guarantees maximum airflow and efficiency.
Now comes the main part of the heating unit installation steps in Temecula. The new unit is positioned, connected, and tested for optimal operation.
Technicians position the heater on a stable platform or base, ensuring proper clearance around it for airflow and maintenance access.
Your HVAC expert securely connects gas lines (for furnaces) or electrical wiring (for electric heaters) following safety codes and local regulations.
The system is connected to your existing ductwork with airtight seals to prevent energy loss.
A smart or programmable thermostat is installed and connected. Technicians program it to communicate with your new system efficiently.
Before finishing the job, the system must be tested thoroughly to make sure it performs as expected.
Technicians calibrate the thermostat, fan speeds, and safety controls to achieve the best comfort and energy performance.
The last step in the heater installation process is the final inspection. The HVAC team ensures everything meets manufacturer specifications and local safety codes.
Final checklist includes:
Once verified, the technicians walk you through how to operate the system and schedule your first maintenance check.
For most Murrieta homeowners, a typical heater install takes between 4 to 8 hours, depending on system complexity and ductwork condition. During this time, you can expect:
Reputable HVAC companies like Hutchinson Heating and Air Conditioning make the entire experience seamless and stress-free.
While DIY might seem cheaper, heater installation requires technical expertise and safety certification. A licensed HVAC installer ensures:
Choosing a professional heating installation in Murrieta gives you peace of mind knowing your system is installed right the first time.
After your new heater is installed, a few maintenance steps will keep it performing efficiently:
Regular maintenance ensures consistent performance and prevents costly repairs later on.
A properly installed heater can reduce your monthly bills by up to 30%, especially if paired with:
Ask your HVAC installer about ENERGY STAR® certified systems and how rebates or incentives may apply in Murrieta or Temecula.
Most modern heating systems last 15 to 20 years with proper care. Gas furnaces, in particular, offer long-term reliability when serviced regularly. Annual tune-ups and early repair detection are key to extending lifespan and keeping energy costs low.
You may also read: What Homeowners Should Know Before a Heater Installation
Understanding the heater installation process helps you make informed decisions and prepare your home for comfort that lasts. From site prep to final testing, every step ensures safety, performance, and efficiency.
If you’re ready to upgrade your home’s comfort, trust the professionals at Hutchinson Heating and Air Conditioning. We specialize in efficient, reliable installations across Murrieta, Temecula, and surrounding areas.
For expert help and transparent pricing, contact us today for professional heating installation in Murrieta and let’s keep your home warm all season long.
How long does a heater installation take?
Most standard installations take one full day. Complex ductwork or system replacements may take longer.
Do I need to replace my ducts during installation?
Not always. If your ducts are clean and leak-free, you can keep them. Your technician will inspect them first.
What should I do before the installation day?
Clear the workspace, remove any items near the installation area, and ensure easy access for technicians.
Will a new heater reduce my energy bills?
Yes. Modern high-efficiency systems use less fuel and distribute heat more evenly, cutting energy costs significantly.
Is professional installation worth it?
Absolutely. Professional installation guarantees warranty coverage, safety, and correct system performance.